Realize your dream of a safari in Africa full of wildlife and adventure. Combine the thrill of an African safari with your passion for learning about wildlife in one exciting and satisfying photographic safari adventure. Learn about conservation efforts and in depth information about all of your animal subjects and their role in the ecosystem while being mentored in photography by your naturalist and photographer guide.
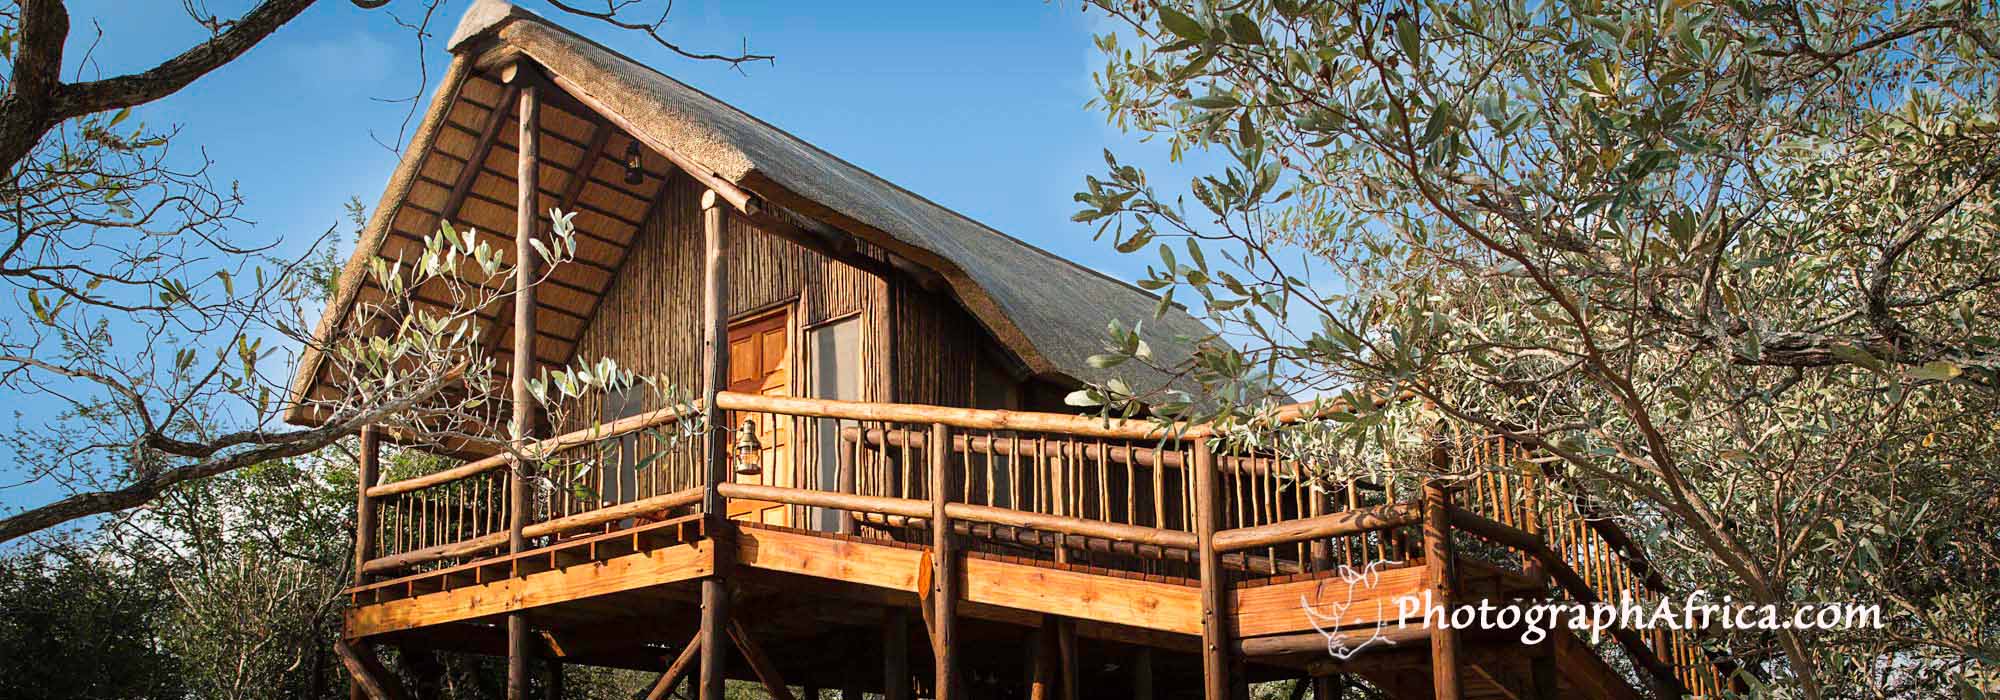
We offer you a safari that is all about maximizing time with the wildlife and giving you a personalized adventure whether you are a serious photographer or just love wildlife. Our groups of 6 - 8 will explore the best private reserves and Kruger National Park through the lens and with our eyes and open minds. Gregory Sweeney is your host and guide and you will be staying at our own tree house lodge and a family owned small lodge in Sabi Sands Reserve, then ending at the small lodge with the photo hide for our exclusive use. We visit areas that are dedicated to proper management of the land and wildlife. Guests are surprised at how much they learn from guides and rangers while observing and photographing a large variety of species.
Photographers of all skill levels are welcome: anyone who is interested in learning, practicing, and loves wildlife is right for this trip. Your guide offers photography mentoring while out in the field and one on one tutoring or group sessions in post processing, creativity, and organization when back at the lodge. Our goal is to offer a photographer's safari and wildlife safari workshop at an affordable price and create for you a memorable and personal experience.
Spring and Fall are the best times to visit South Africa: we plan around the best weather and wildlife activity.
Uncrowded private reserves in the Greater Kruger Park and a small family owned lodge in Sabi
Unique experiences such as the ground level wildlife hide and tree house lodge
Our small group will have exclusive use of accommodations at the Tree House Lodge and the house with the hide
We have been hosting safaris at our lodge and our partner lodges for 15 years so we are dedicated to the this area and know it well and can not wait to share its magic with you.
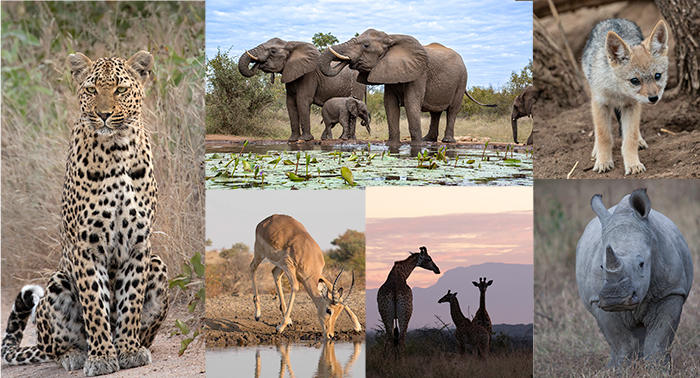
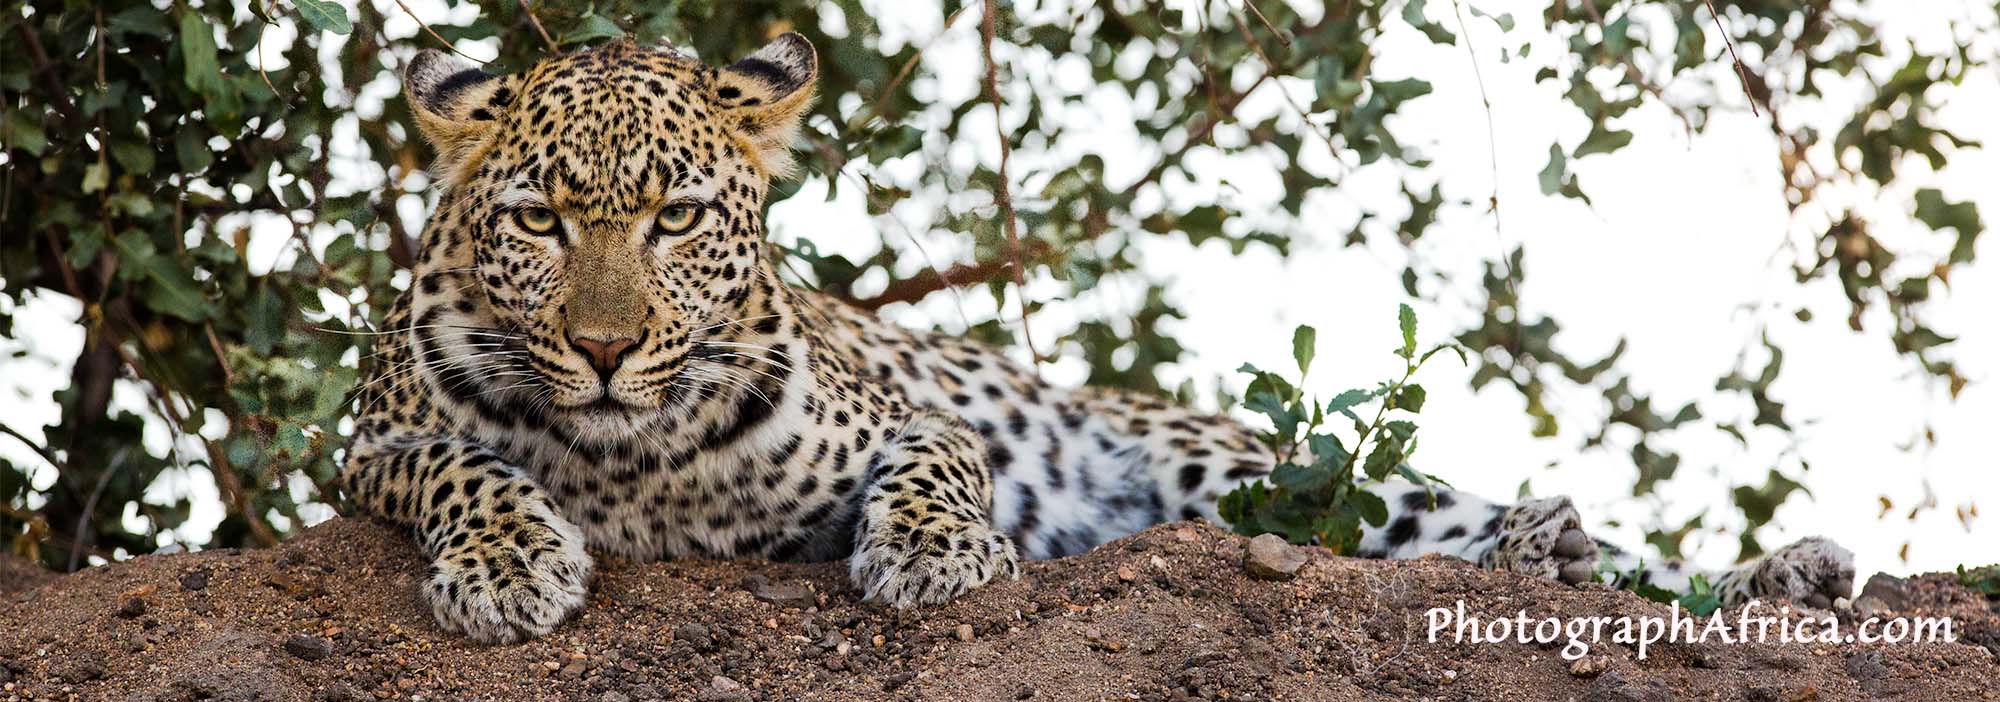
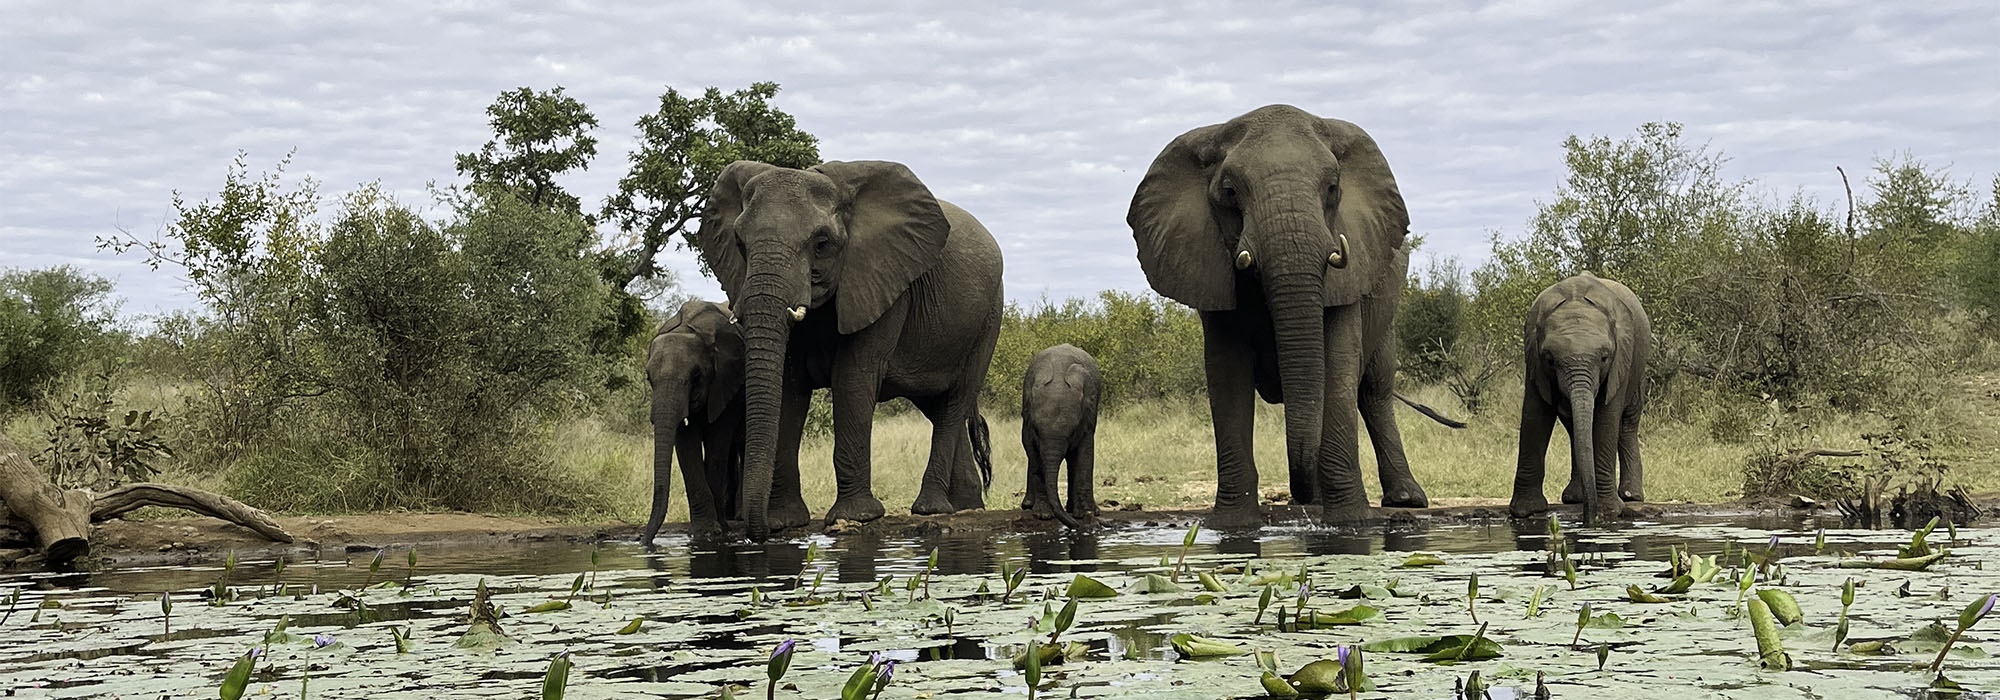
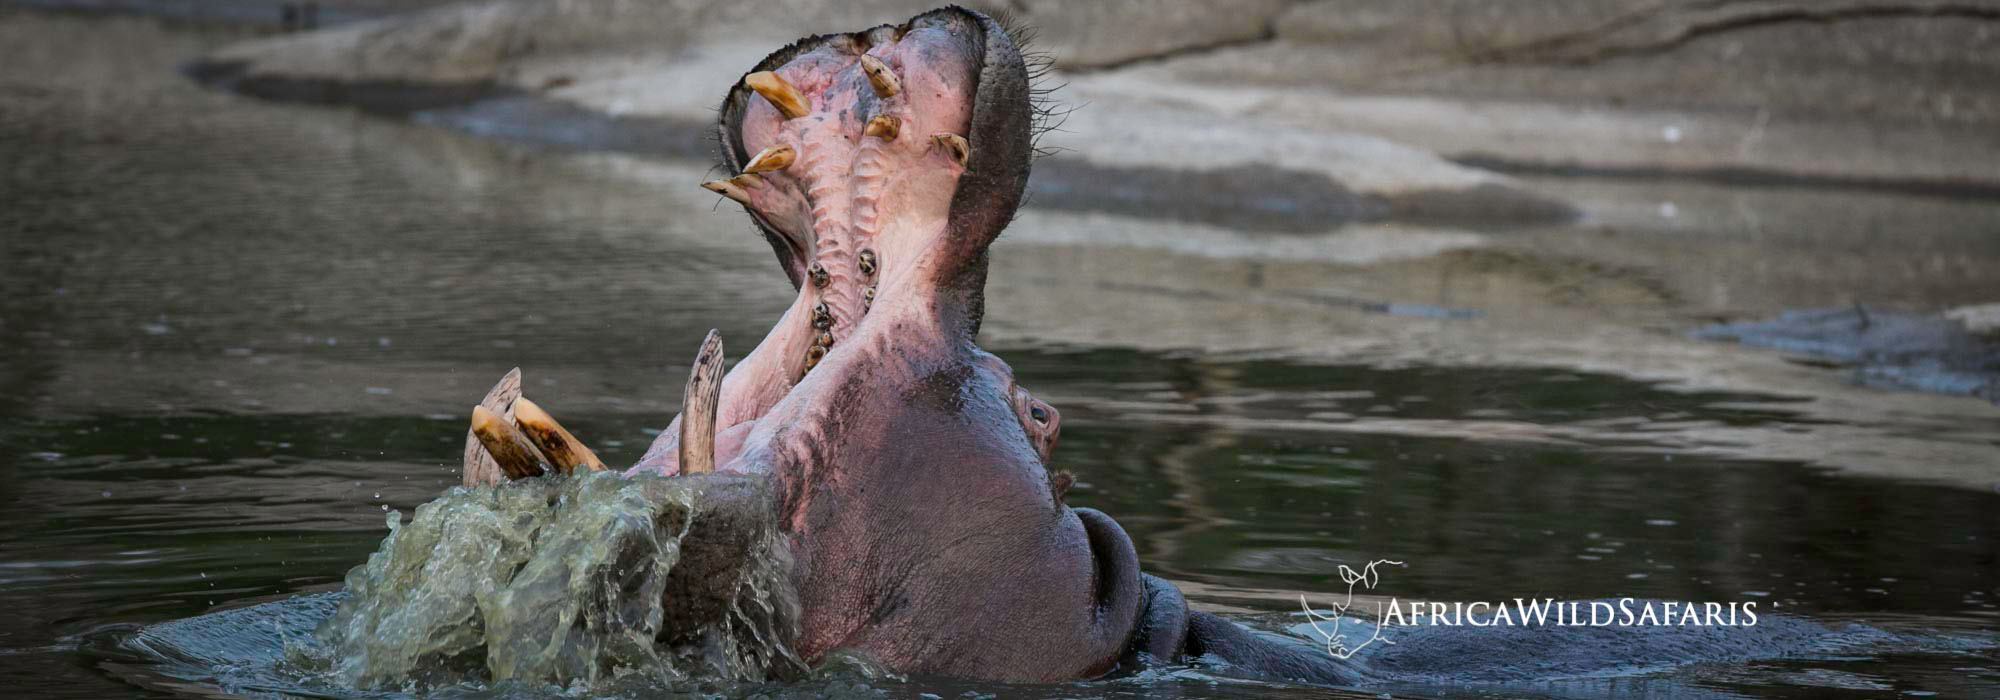
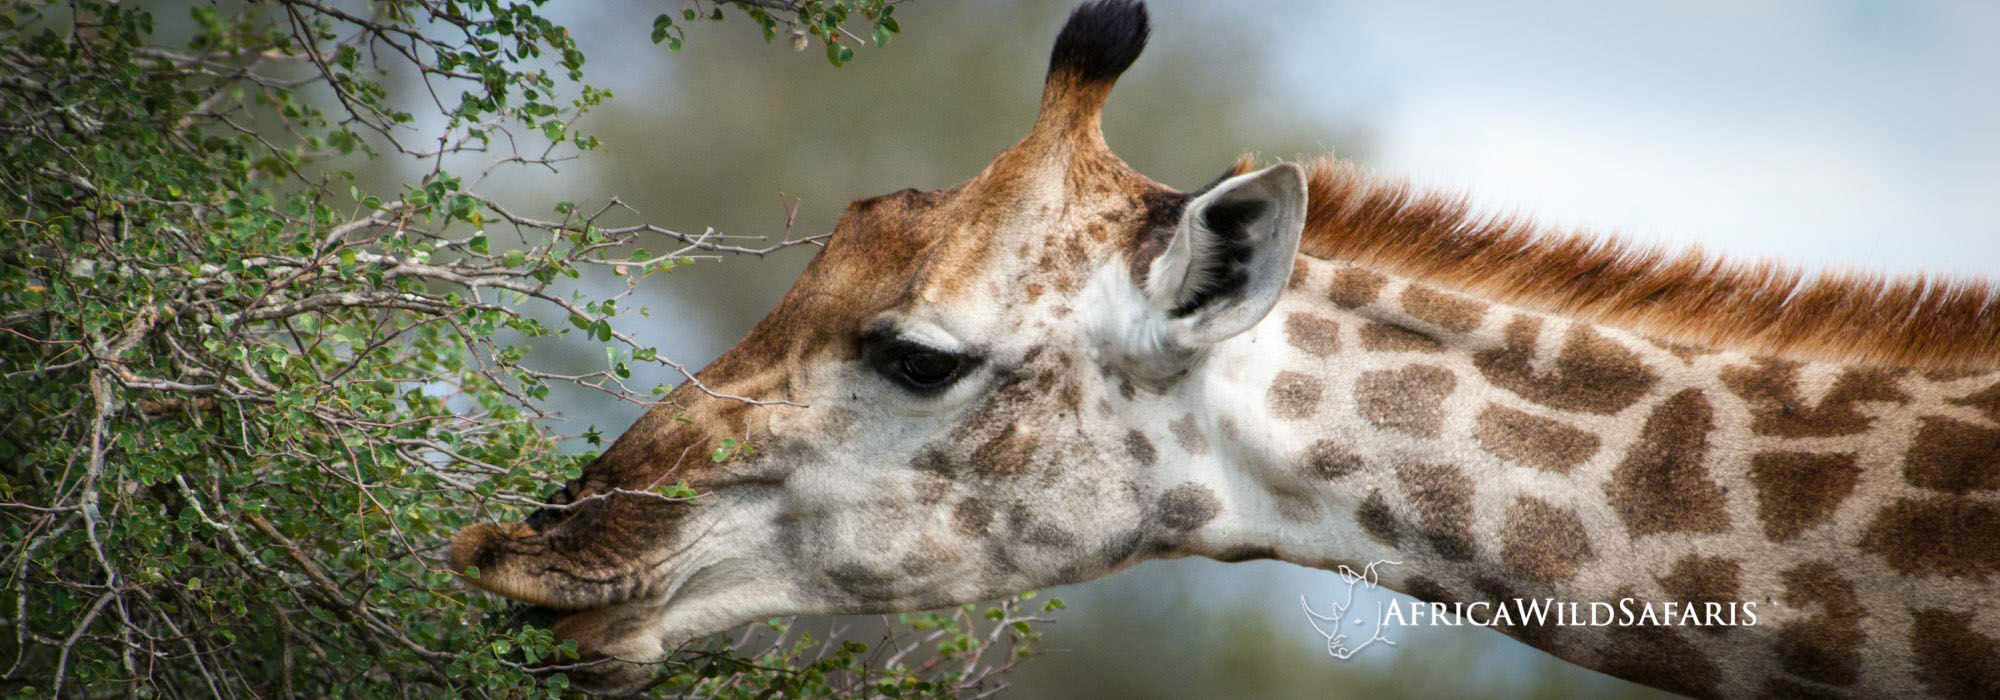
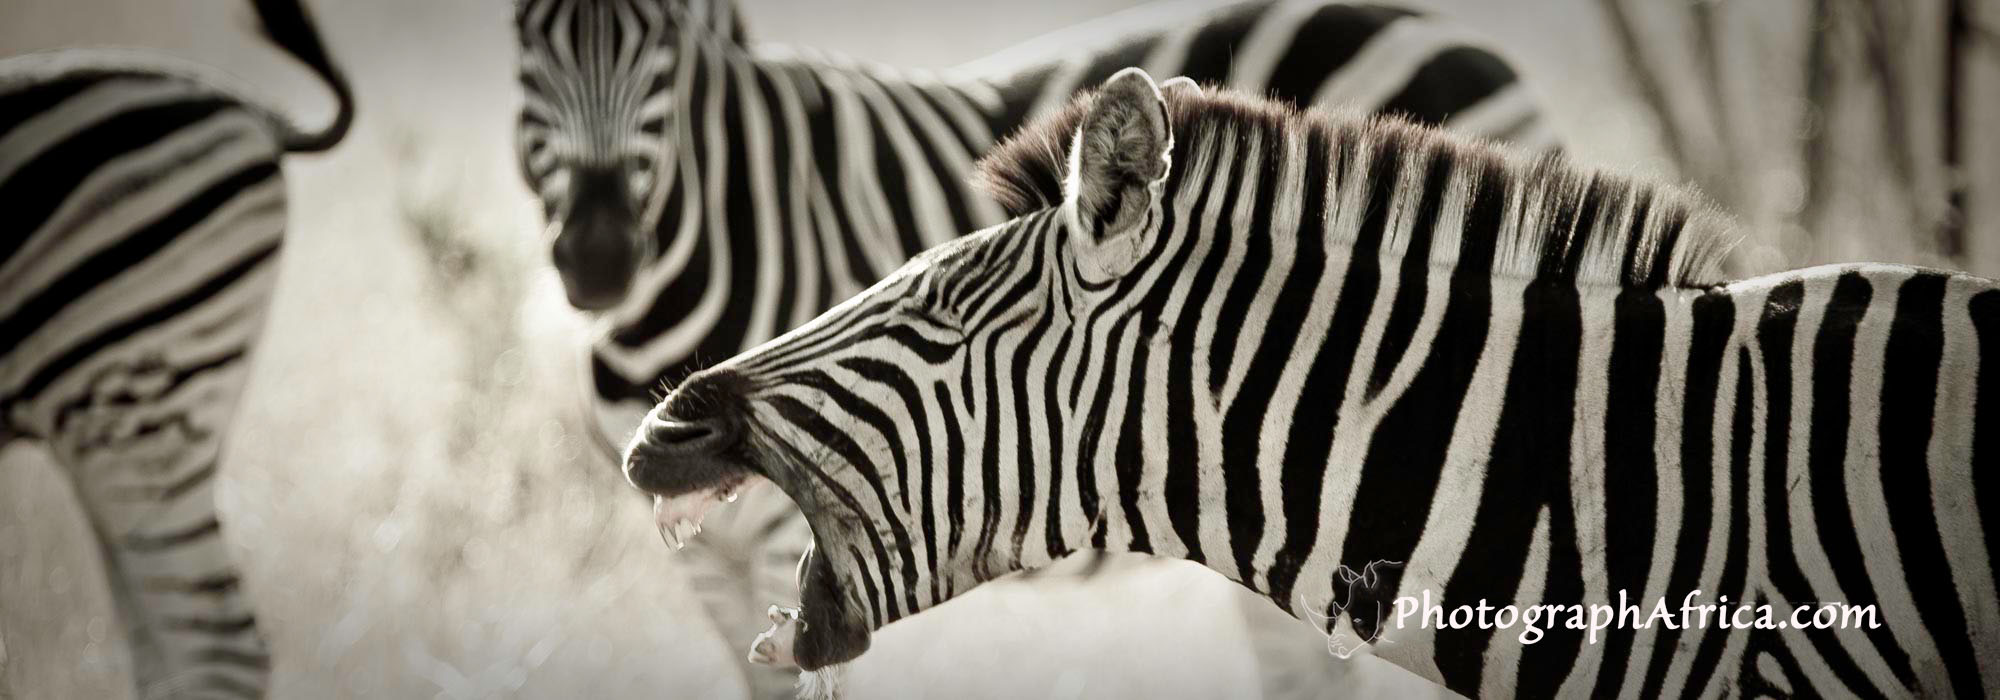
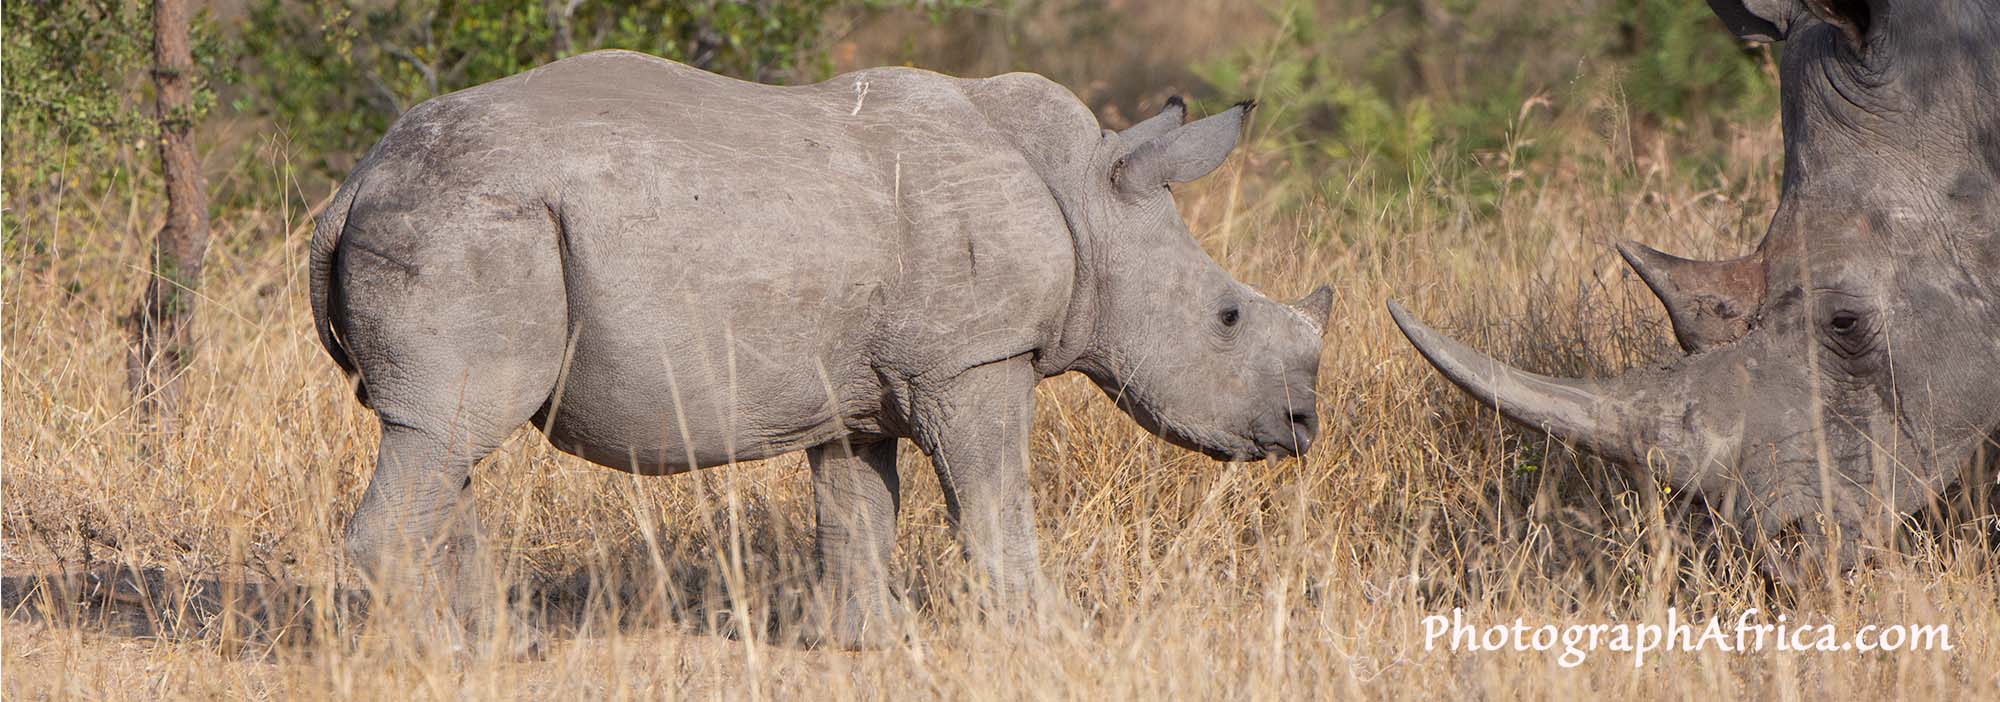
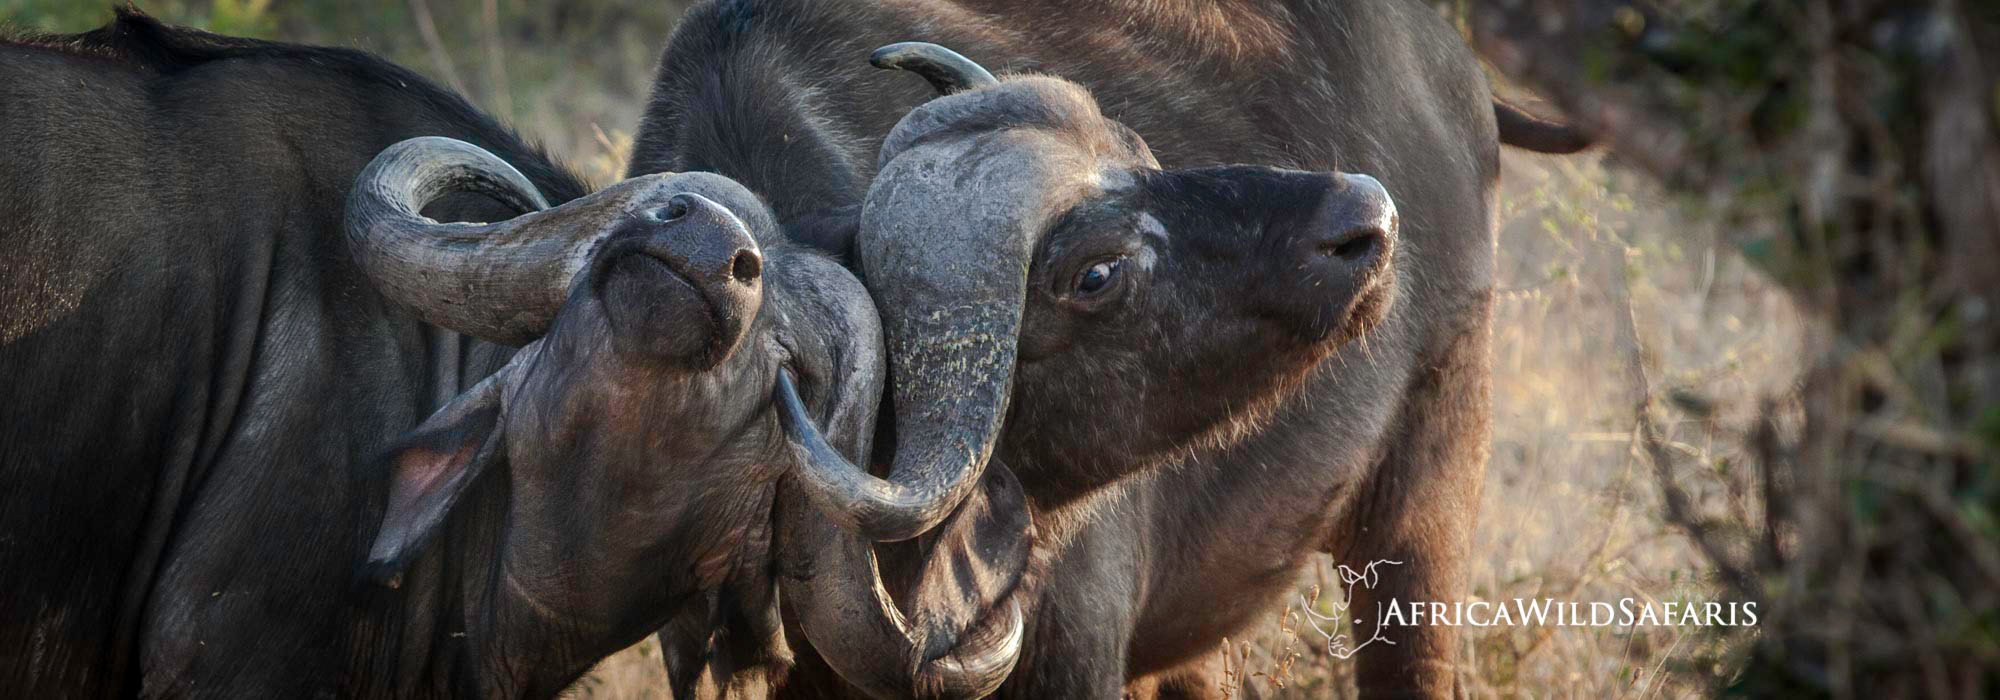
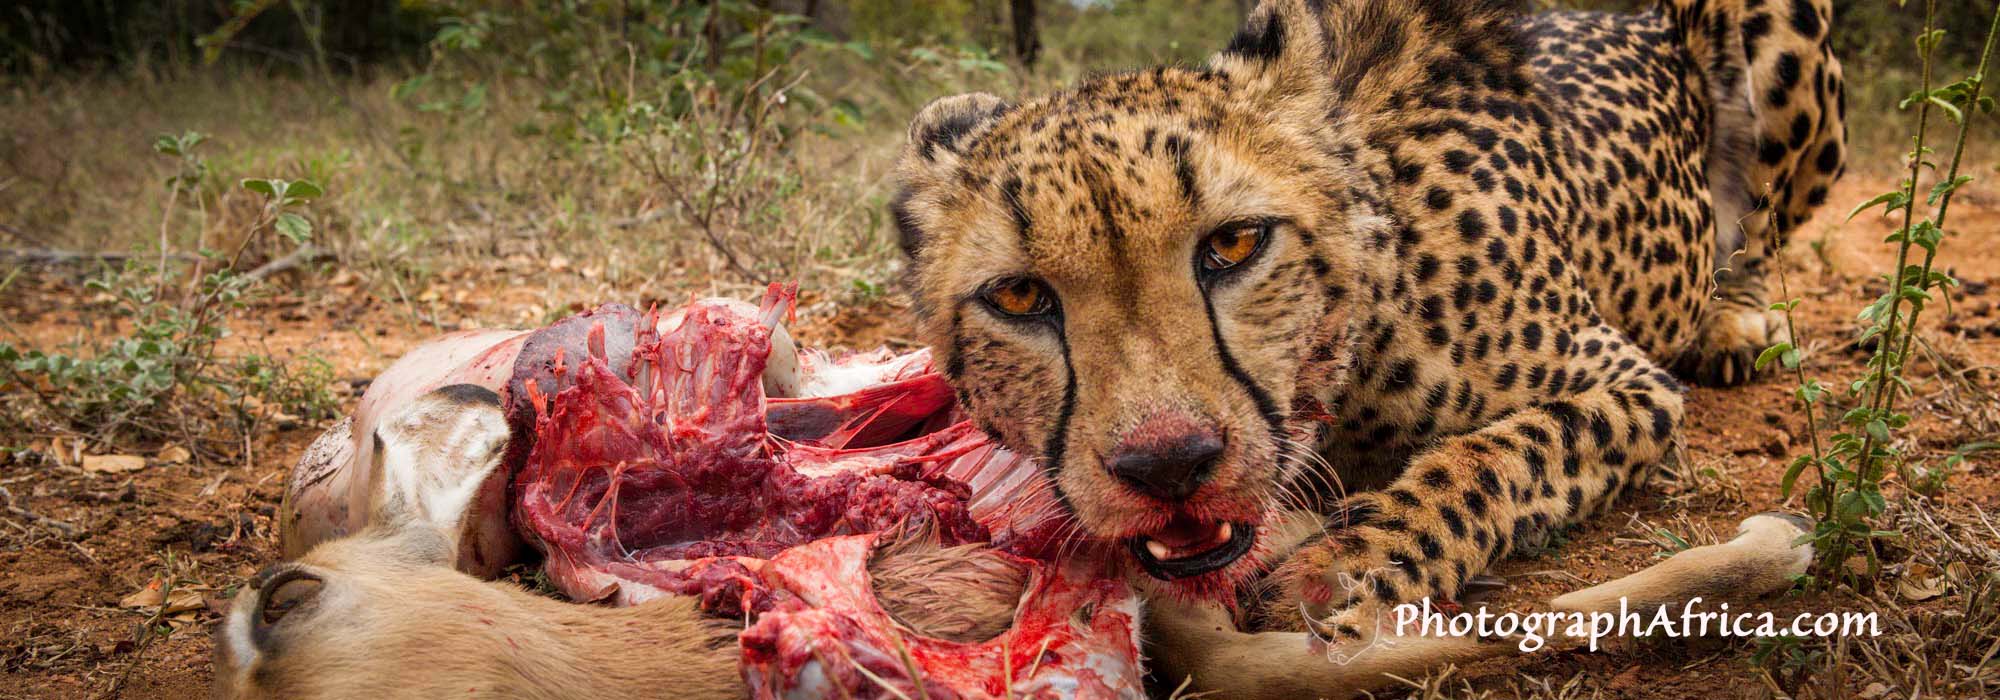
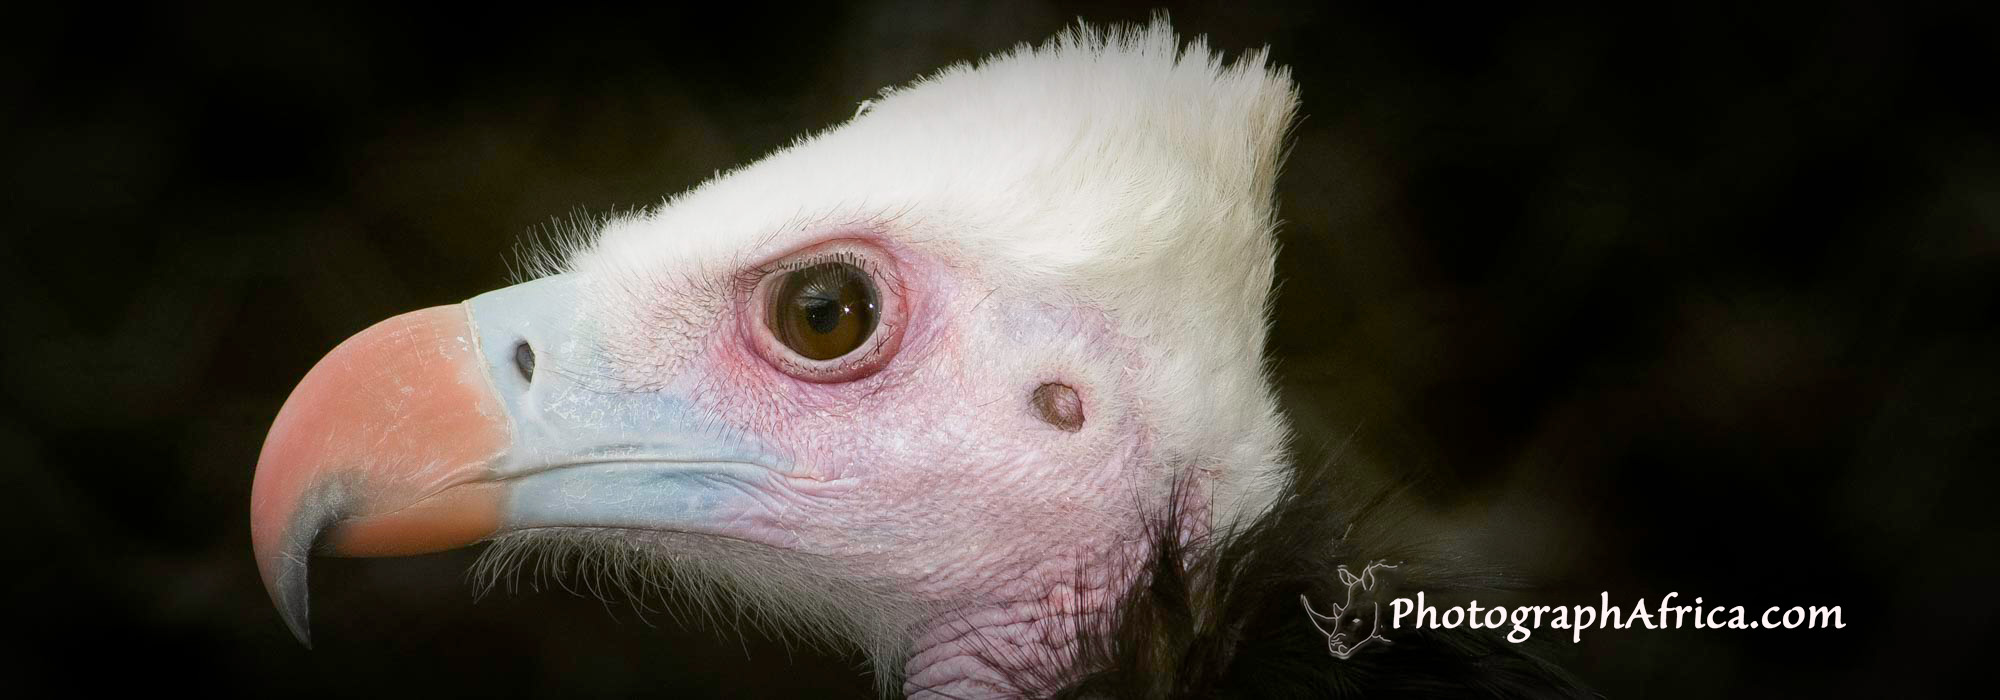
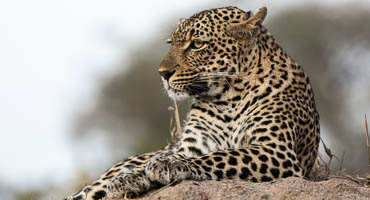
We will close out these 10 day guided safaris with a 2 night stay at a small lodge where we will have exclusive use of an underground (water level) photography and wildlife observation hide. With 24 hour access to the hide, we will not miss a minute of the Greater Kruger Park big 5 wildlife activity. Our safaris start at our tree house lodge to experience Kruger National Park and the surrounding area then three nights in the famous Sabi Sands reserve for leopards. These safaris are a delight for photographers wanting a variety of wildlife images, close encounters with leopards, and the unique perspective of a hide at water level at a watering hole. Non Photographers are also welcome and will enjoy the patient encounters with so many species of wildlife throughout this safari.
In our experience May and September are the best seasons for wildlife and safaris. As an added bonus they are also considered as low season!
2025 Dates |
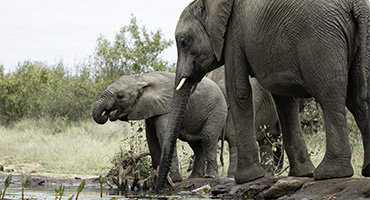
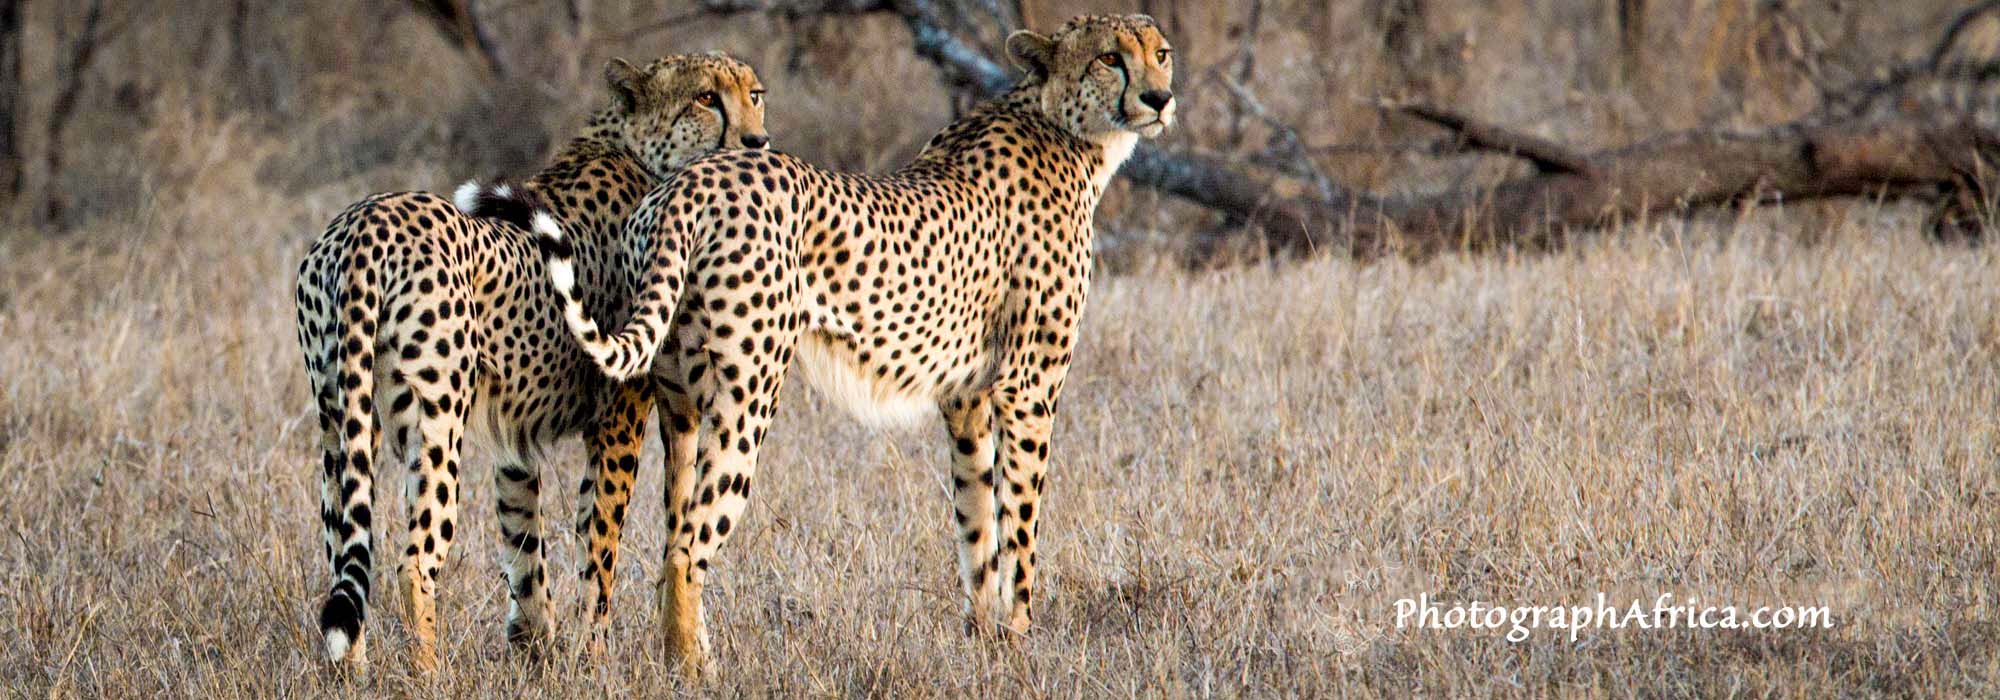
We love our wildlife rich area of Limpopo and offer a 9 night wildlife / photographic safari including three nights in the famous Sabi Sands reserve and a stay at our own Tree House Lodge on a private reserve followed by a stay in a big 5 reserve with the private underground wildlife hide. This safari will highlight all of the great game viewing in the areas both in and around Kruger. Photographers will also enjoy the river and wooded areas of Sabi famous for being good leopard territory. We will be offering dates in our favorite seasons; May and September. Each Safari group is limited to 7 guests .
Guided photo safaris for photographers
safaris for wildlife lovers
best place for wildlife safari
unique safaris
best private safaris
safari photography workshop for beginners
Scuba and Snorkel trips including whale sharks, Bill fish, Sharks, Whales and Polar Bears
Sharks, Sailfish, Whale Sharks, Manta, Etc. : My collection on YouTube
Safari Reports, Tutorials, Wildlife Articles, Preparing and Travel Info
Africa Wild Safaris is owned by photographer Gregory Sweeney and his wife Karen. Together they own a small lodge on a nature conservancy which becomes the home base for their photography safaris. While on safari Gregory is a teacher ans well as a host and guide. Guests are return with memories of once in a lifetime wildlife encounters.